Pershendetje,
Sapo hasa ne nje problem tjeter interesant ne momentin e kalimit nga Config file te versionit 1.0 me Cost of Service ne Config file 1.1 me Quality of Service dhe Service flows per upstream dhe downstream.
Shume nga llojet u modemava u lidhen pa problem perveq Motorola Corporation,SBV6120E te cilet ngecin ne init(t)
Per ta rregulluar kete problem ishte e nevojshme instalimi i nje serveri dhe konfigurimi i quajtur Time of Day / Xinetd dhe NTP Server.
nano /etc/xinetd/daytime-dgram
nano /etc/xinetd/time-dgram

Tek disable=yes tek te dy fajllat e nderrojm ne disable = no dhe pastaj e shtypim komanden
service xinetd restart
Ne menyre qe te beni verbose edhe marrjen dhe pranimin e konfig file apo firmware etj mund ta realizoni funksionin verbose dhe konfigurimin brenda tftp fajllit.

Kete e realizoni duke shtuar argumentin --verbose tek linuxi dhe pastaj mund te shiqoni logs edhe per secilin modem se qfar config file apo firmware eshte duke e marrur per momentin.
Pastaj duhet ta instalojm edhe ntp server dhe te bejm konfigurimet e meposhtme per te funksionuar modemi.
NTP server package is provided by default from official CentOS /RHEL 7 repositories and can be installed by issuing the following command.
# yum install ntp
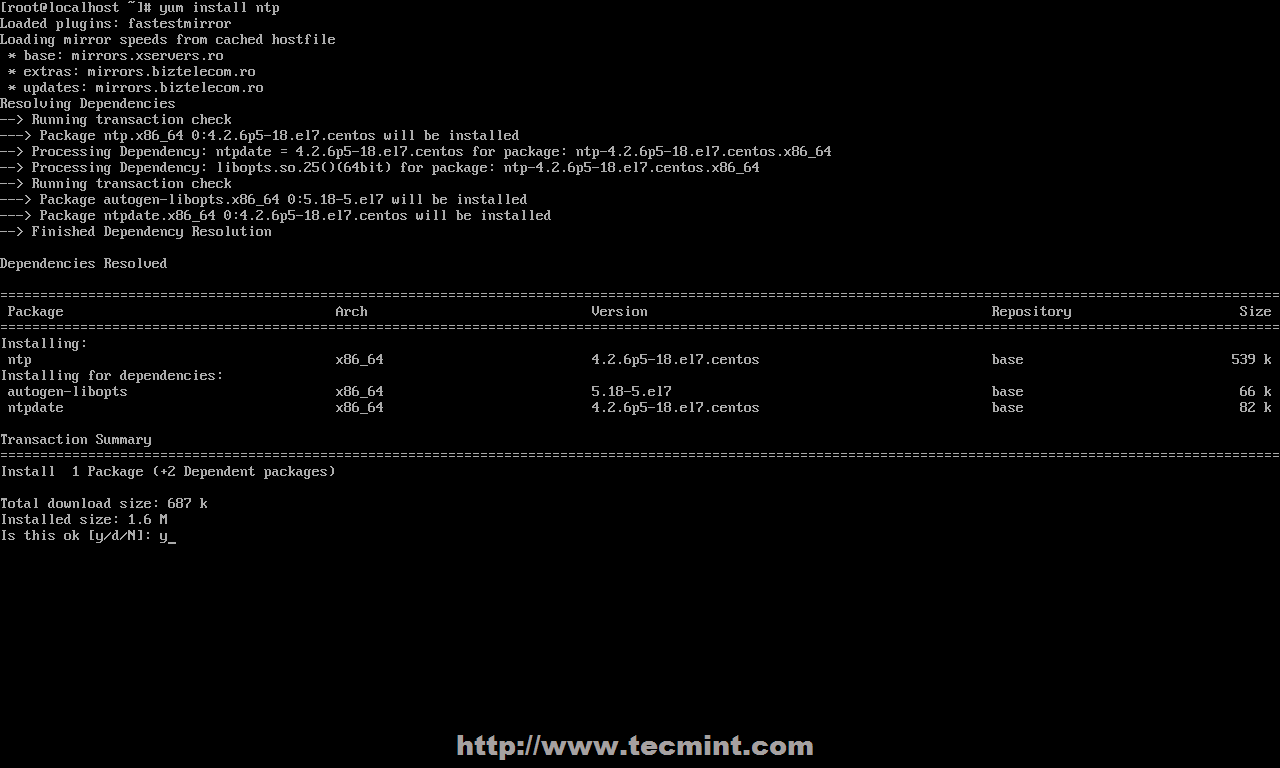
Install NTP Server
2. After the server is installed, first go to official NTP Public Pool Time Servers, choose your Continent area where the server physically is located, then search for your Country location and a list of NTP servers should appear.

NTP Pool Server
3. Then open NTP daemon main configuration file for editing, comment the default list of Public Servers from pool.ntp.org project and replace it with the list provided for your country like in the screenshot below.

Configure NTP Server
4. Further, you need to allow clients from your networks to synchronize time with this server. To accomplish this, add the following line to NTP configuration file, where restrict statement controls, what network is allowed to query and sync time – replace network IPs accordingly.
restrict 192.168.1.0 netmask 255.255.255.0 nomodify notrap
The nomodify notrap statements suggest that your clients are not allowed to configure the server or be used as peers for time sync.
5. If you need additional information for troubleshooting in case there are problems with your NTP daemon add a log file statement which will record all NTP server issues into one dedicated log file.
logfile /var/log/ntp.log

Enable NTP Logs
6. After you have edited the file with all configuration explained above save and close ntp.conf file. Your final configuration should look like in the screenshot below.

NTP Server Configuration
Step 2: Add Firewall Rules and Start NTP Daemon
7. NTP service uses UDP port 123 on OSI transport layer (layer 4). It is designed particularly to resist the effects of variable latency (jitter). To open this port on RHEL/CentOS 7 run the following commands against Firewalld service.
# firewall-cmd --add-service=ntp --permanent
# firewall-cmd --reload

Open NTP Port in Firewall
8. After you have opened Firewall port 123, start NTP server and make sure you enable it system-wide. Use the following commands to manage the service.
# systemctl start ntpd
# systemctl enable ntpd
# systemctl status ntpd

Start NTP Service
Step 3: Verify Server Time Sync
9. After NTP daemon has been started, wait a few minutes for the server to synchronize time with its pool list servers, then run the following commands to verify NTP peers synchronization status and your system time.
# ntpq -p
# date -R